Day 1 Skill Builder: Basic Cardboard Relief Techniques
SWBAT replicate basic cardboard relief techniques (Stacking, Overlapping, & Texture)
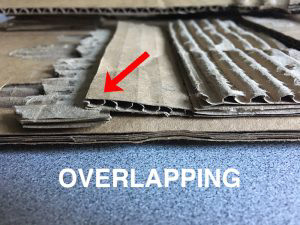
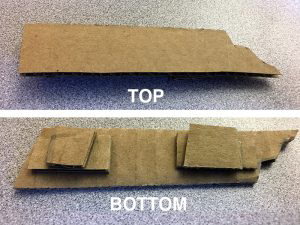
Day 2-3 Skill Builder: Cardboard Initials
SWBAT create a cardboard relief using the 3 techniques and their initials
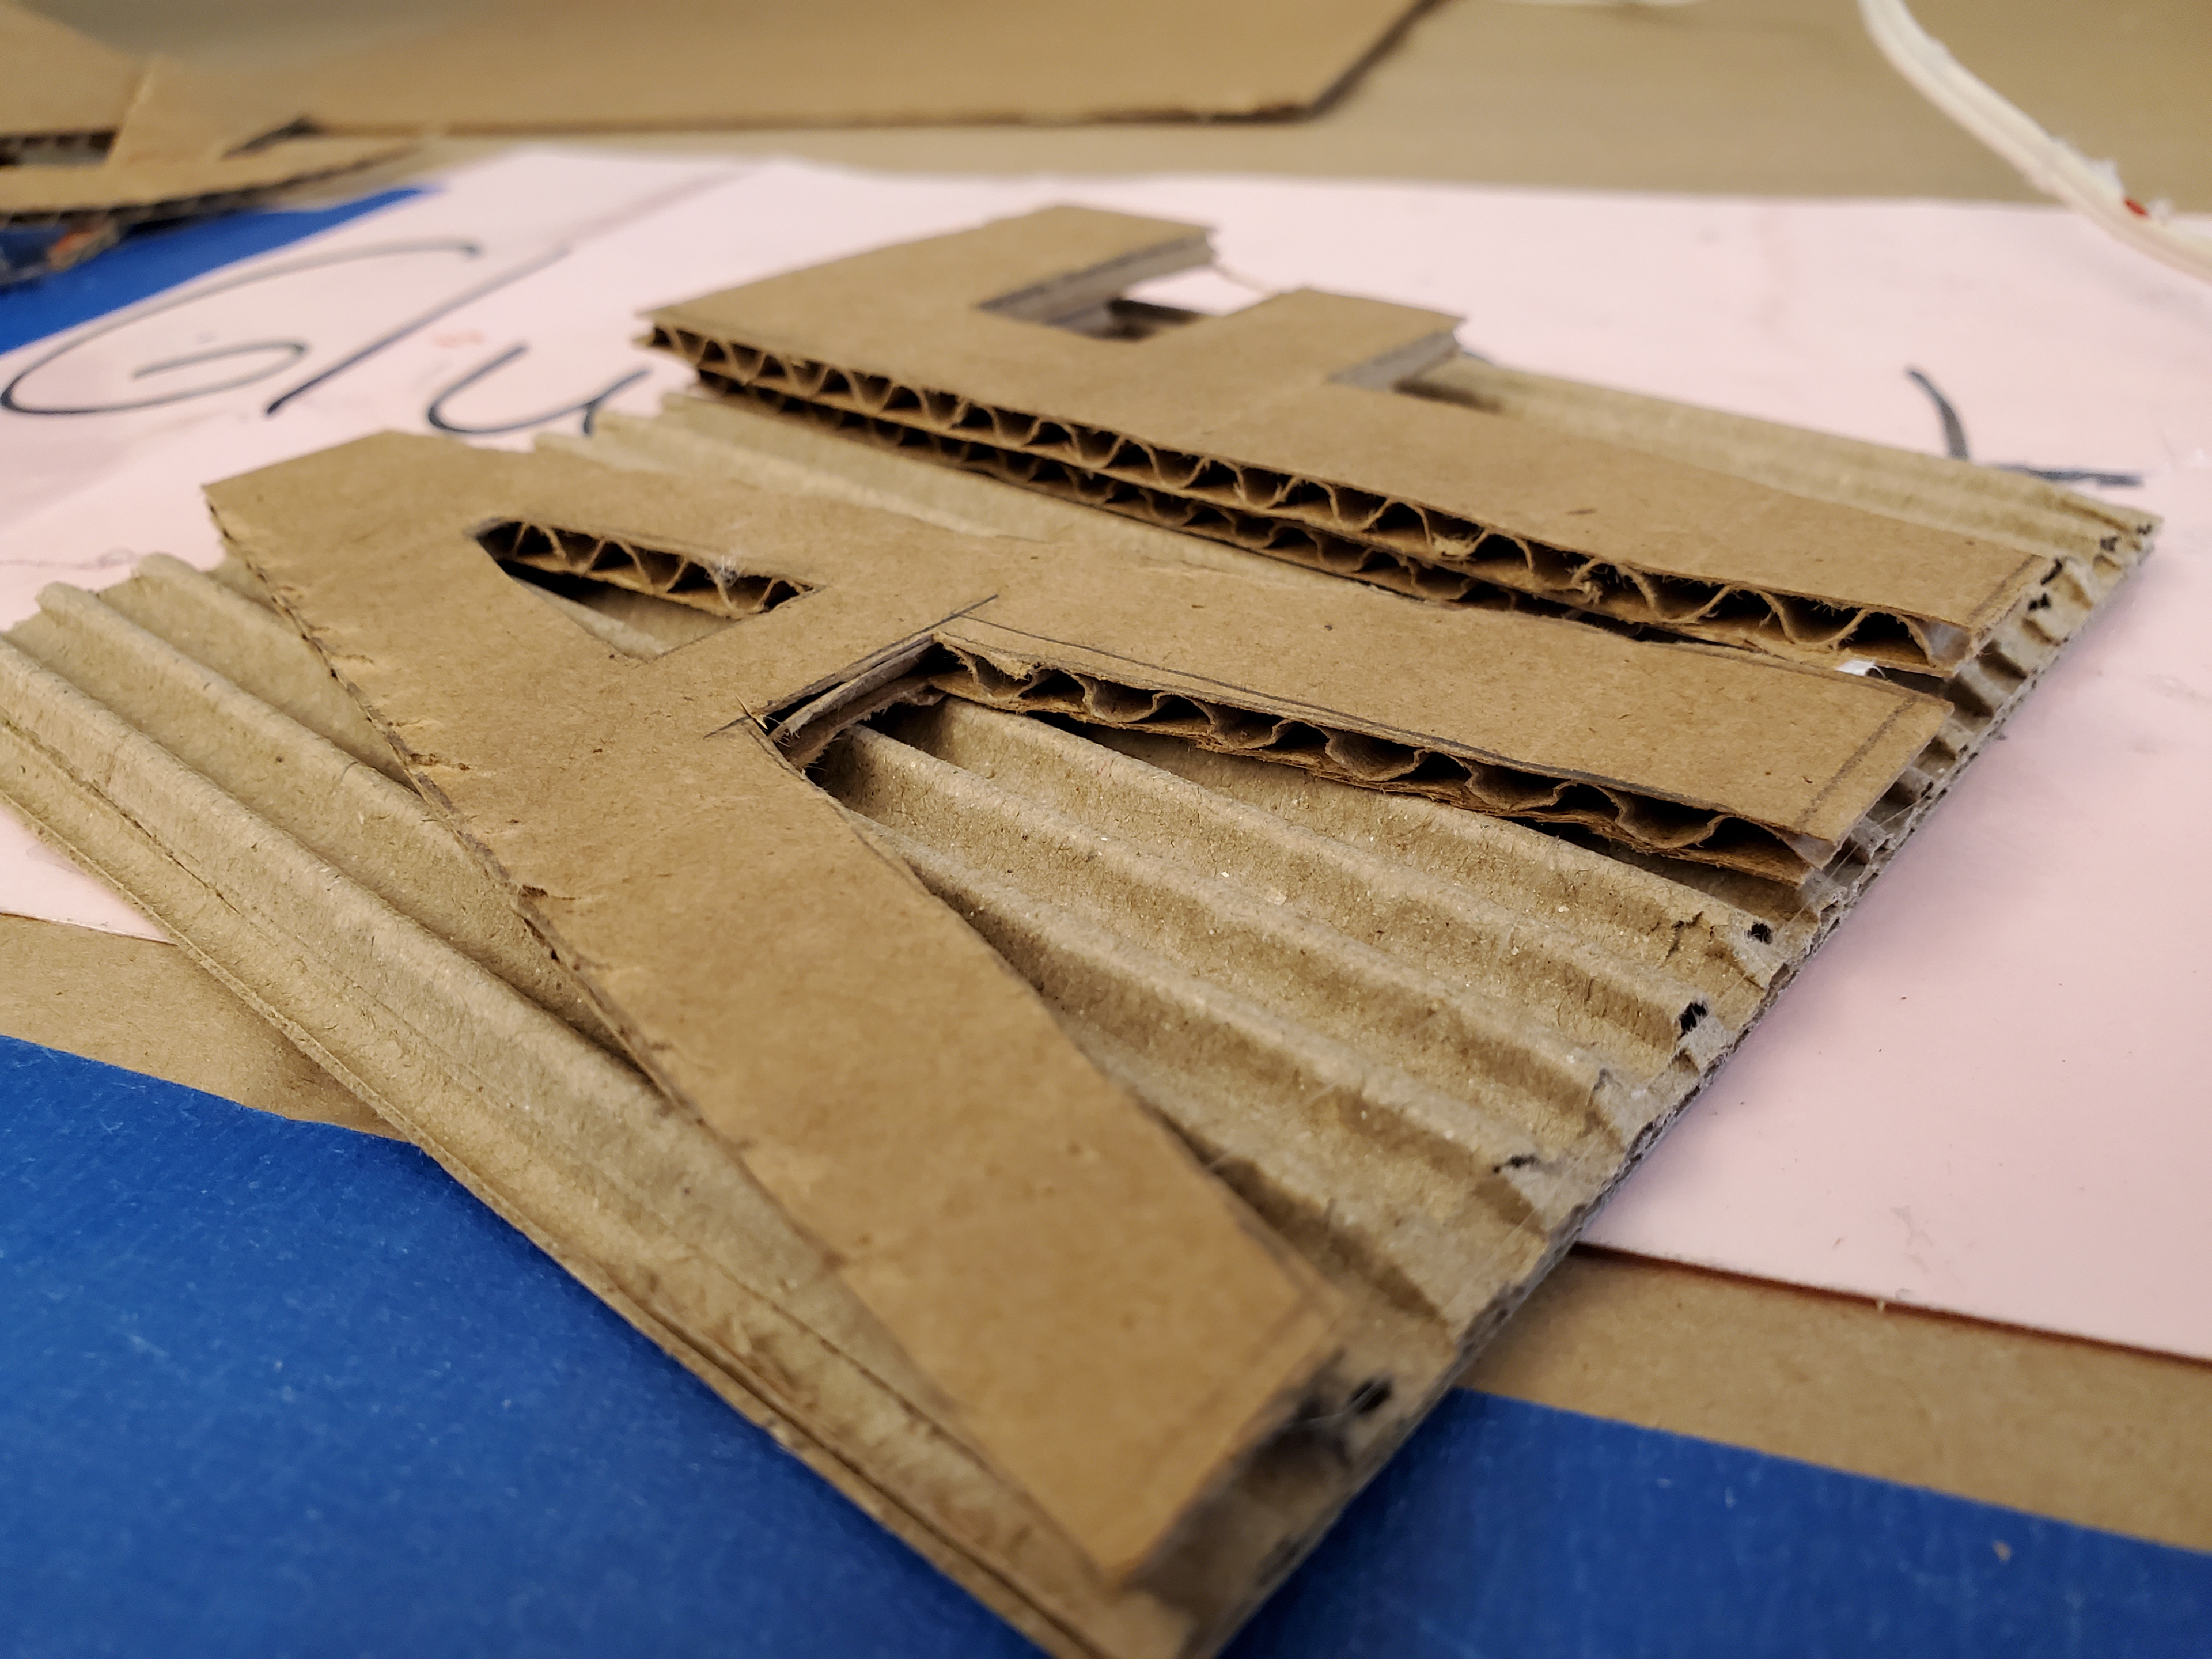
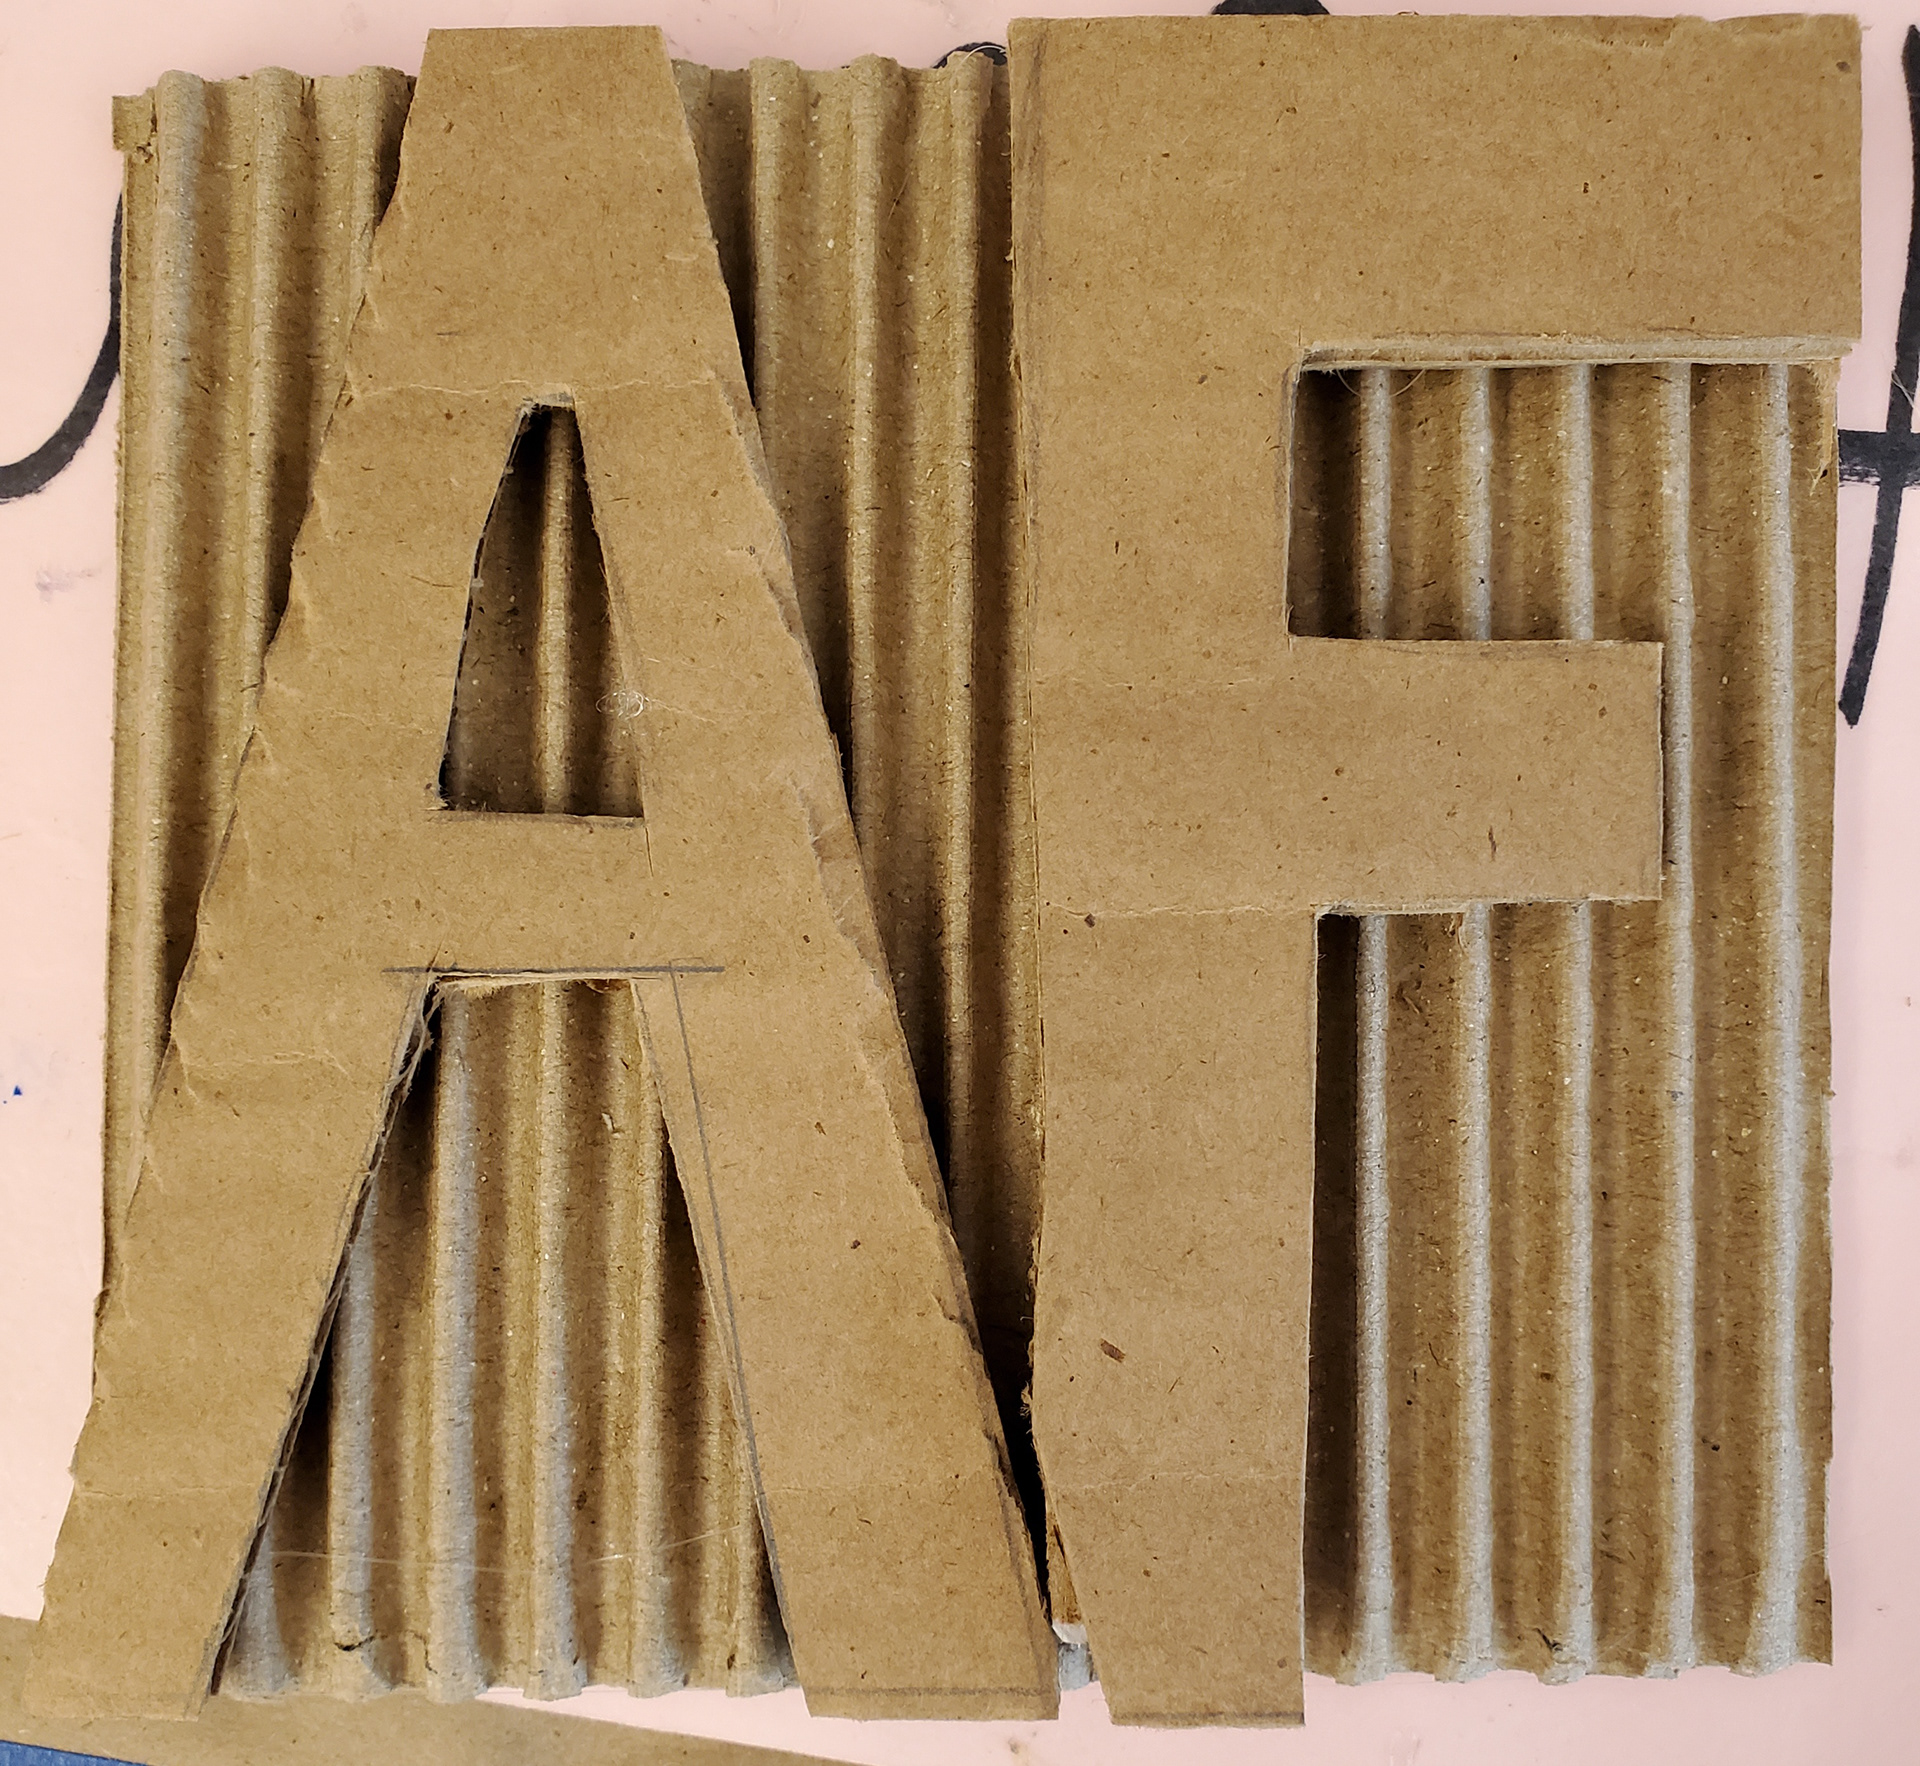
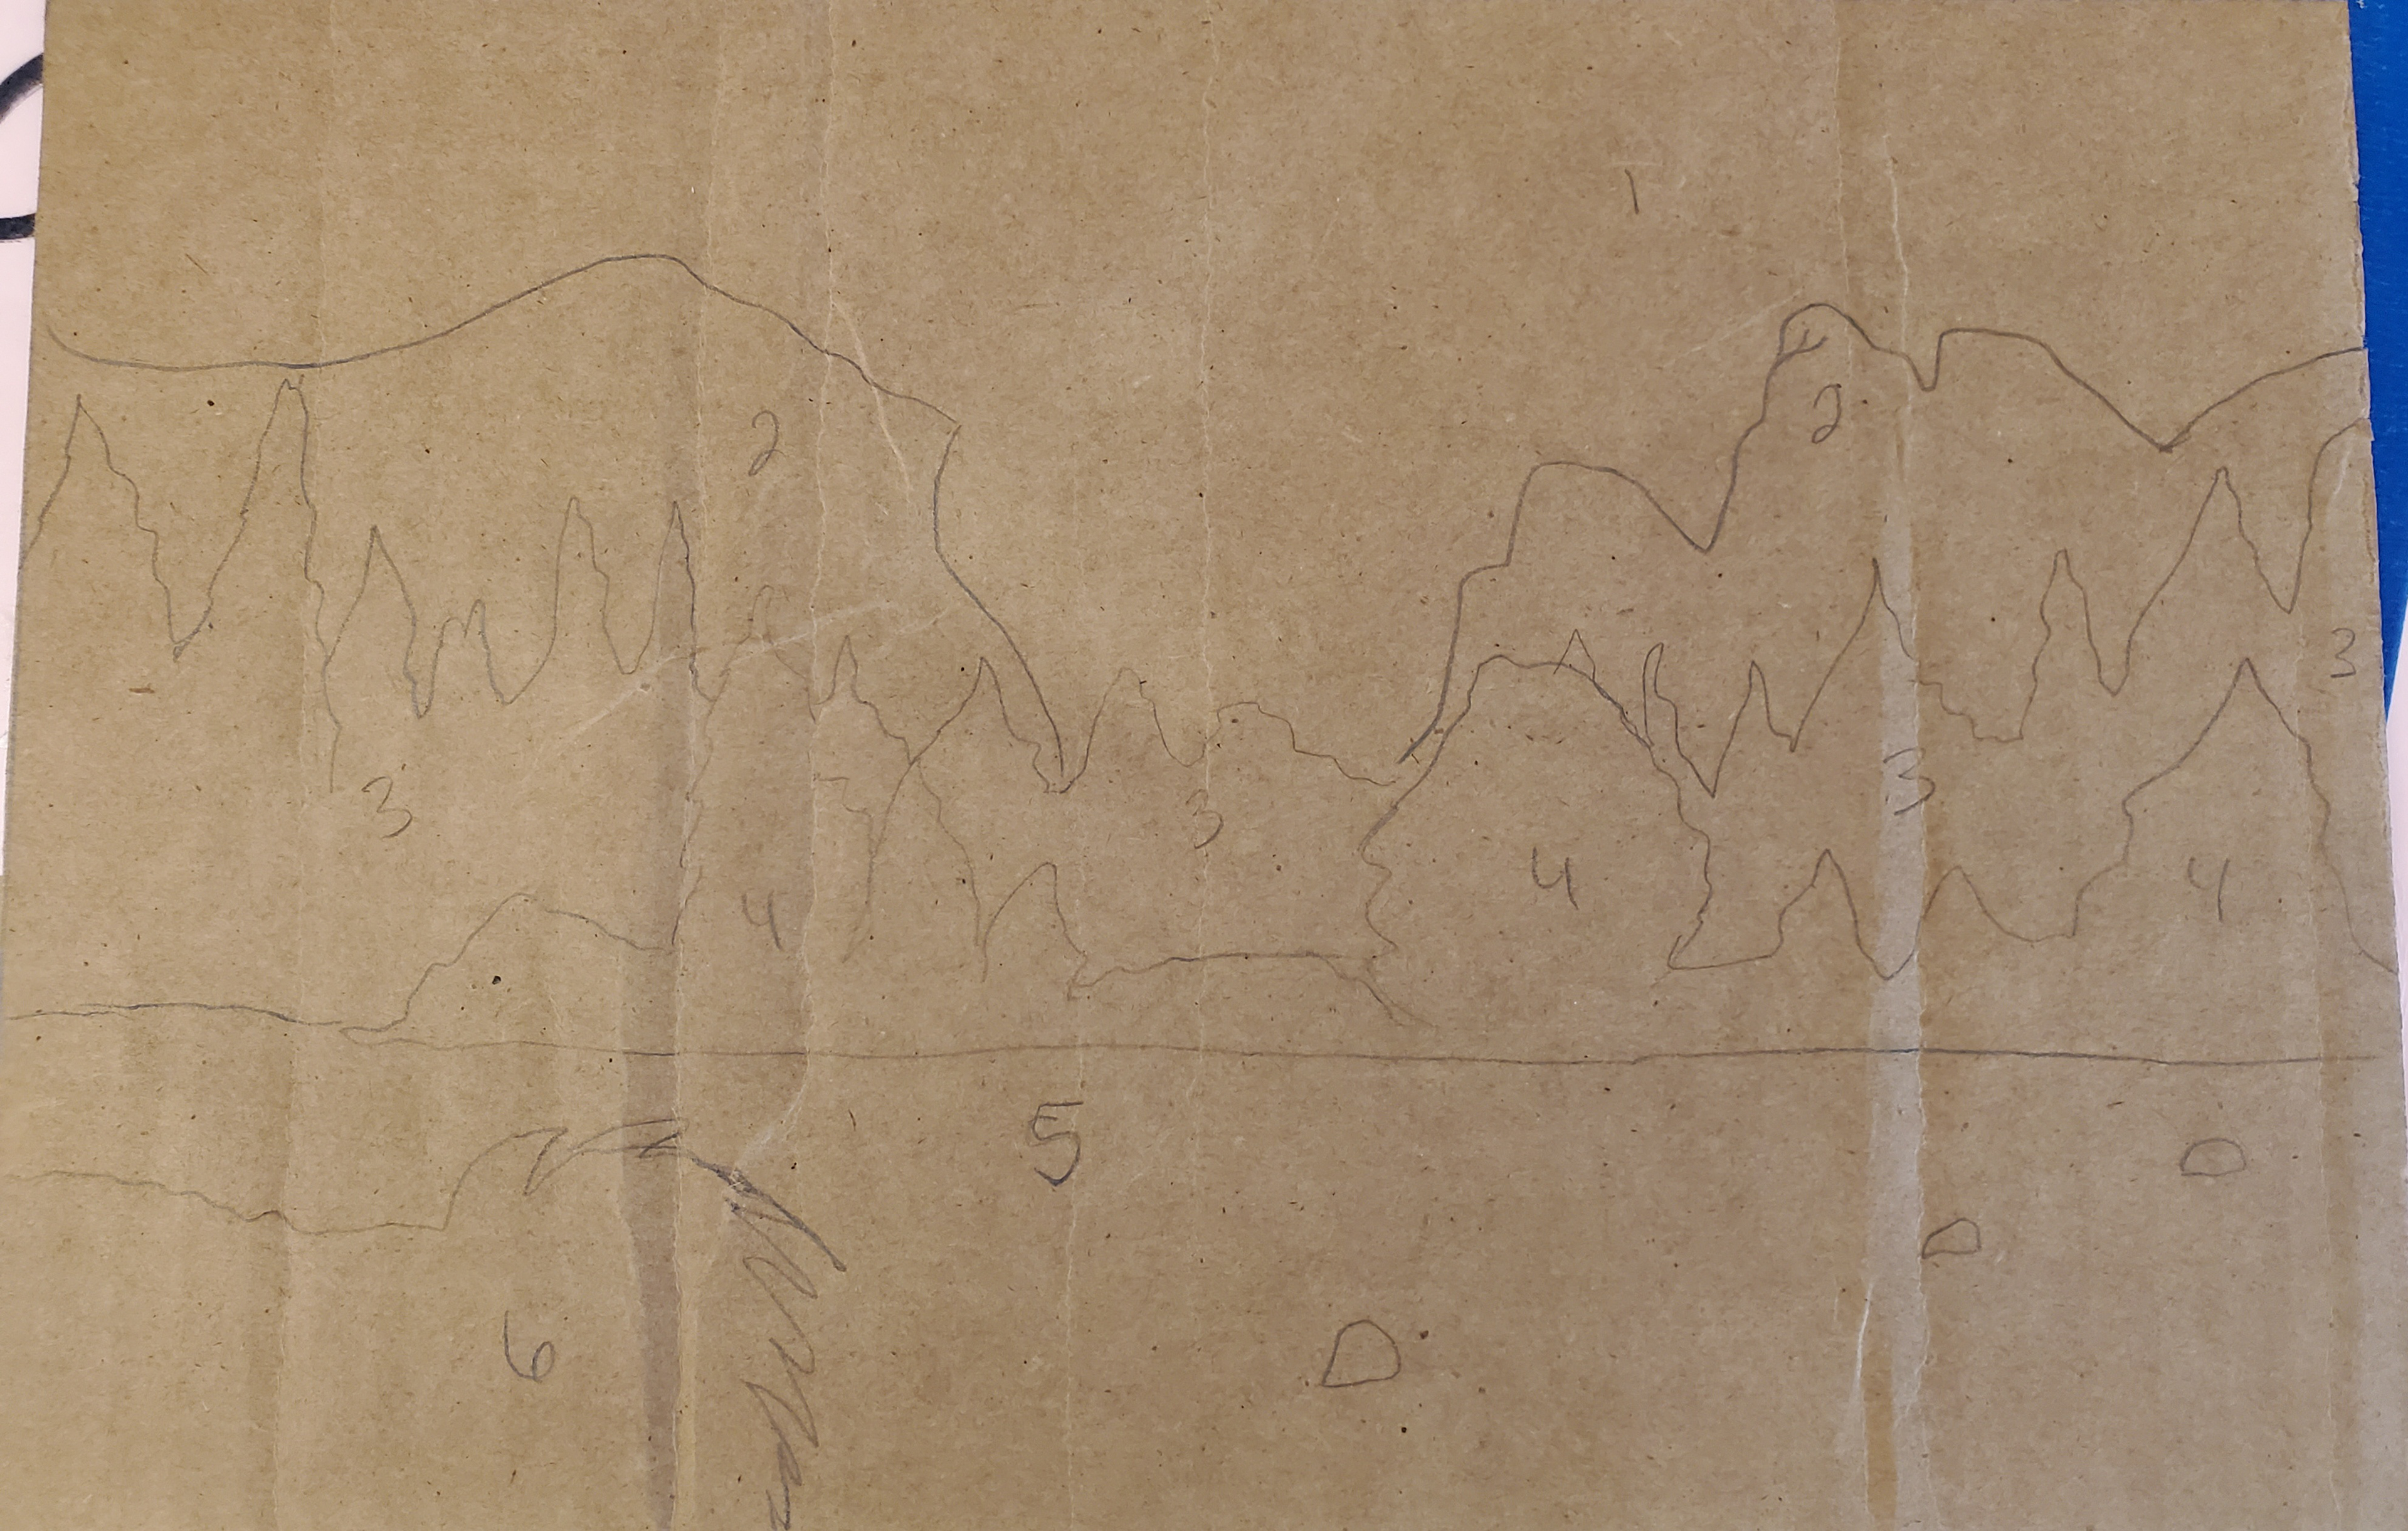
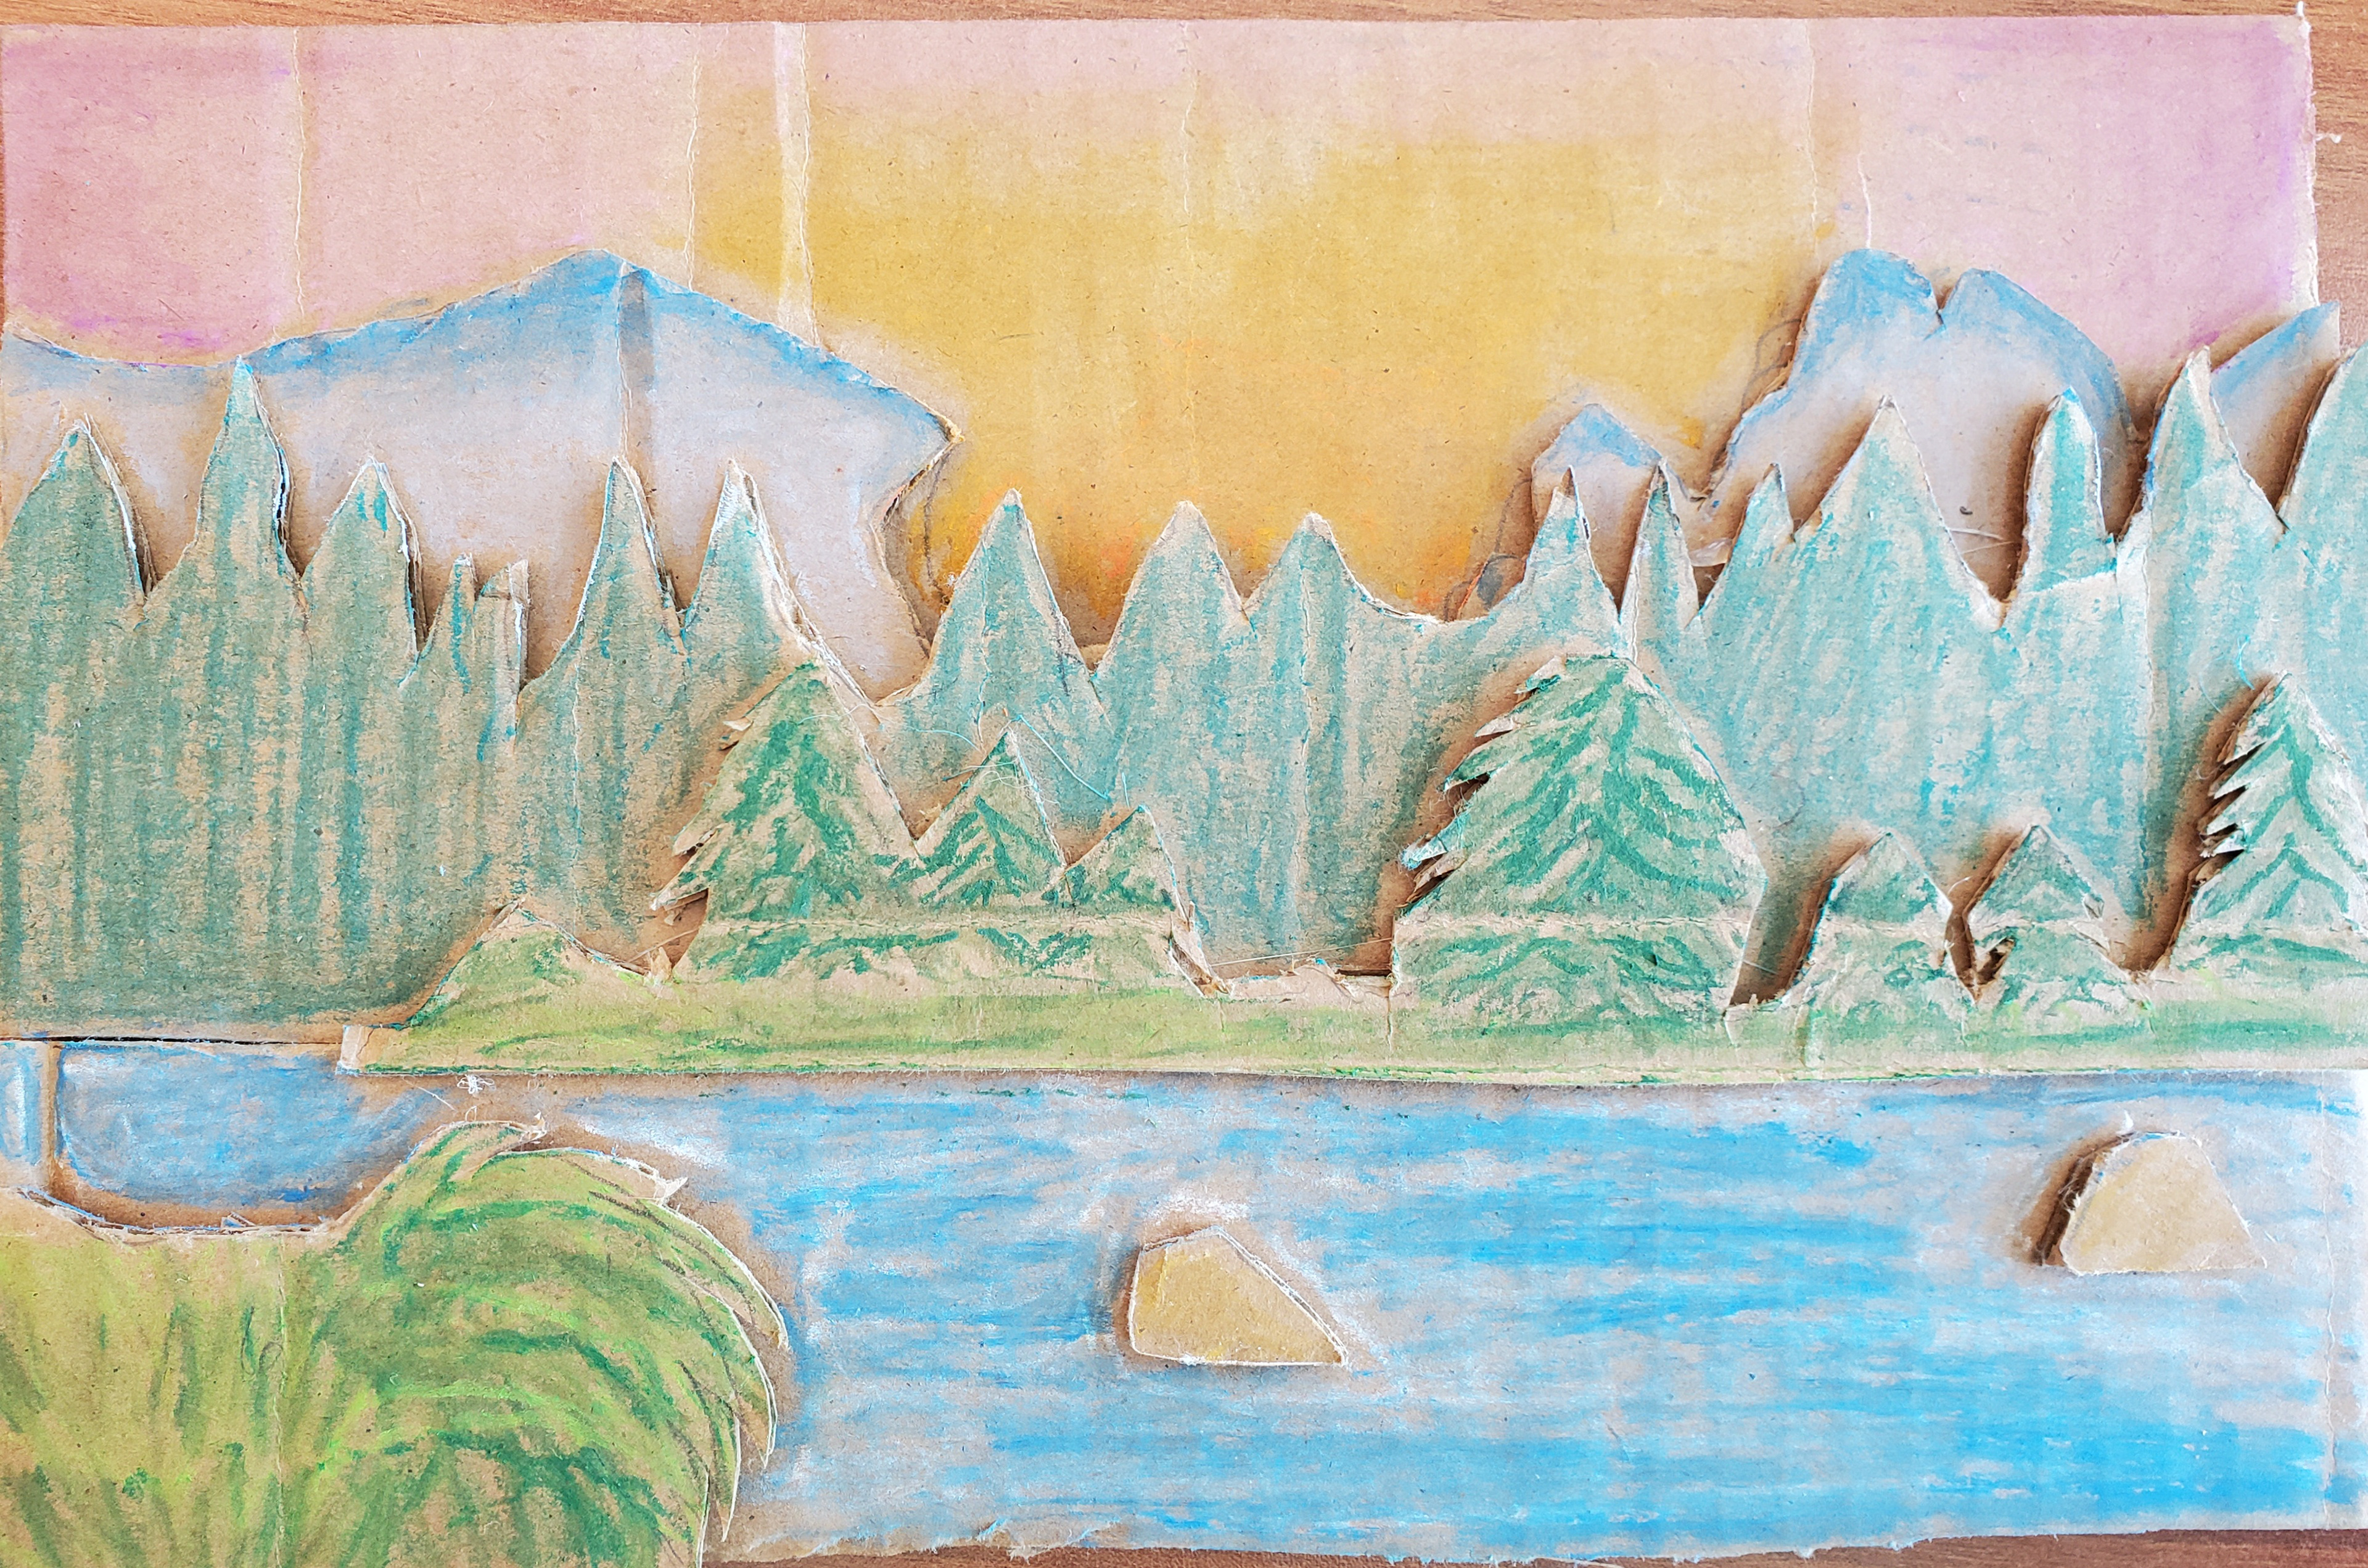
Day 4-7 Semi Project: Landscape
SWBAT research different landscapes and choose one to replicate.
Day 8-13 Main Project: Cardboard Celebrity Portraits
Day 8: Students will use the chromebooks to research celebrity faces. They will email me a high resolution image to print. They need to remember how to stack, overlap and creature texture for this project. It can enhance your celebrity’s face.
Day 9: When you get your print out, get a highlighter and outline all of the different sections (background, midground and foreground). Use the transfer paper to trace off your image onto the cardboard base.
Day 10: Cut out all of the highlighted sections on your paper. Use the cut outs to lay, trace and cut out your cardboard pieces.
Day 11: Take your cut out pieces and stack, overlap and hot glue them. Keep in mind what is in the background, midground and foreground.
Day 12: Once you are done gluing your pieces in place, use the oil pastels with th Q-tips and tissues to color, shade and highlight your celebrity's face.
Day 13: Finish coloring your celebrity's face with oil pastels and turn in at the end of class.
